Introduction: Embrace Your Natural Hair Journey
Styling your natural hair at home isn’t just a skill—it’s a whole mood. Whether you’re rocking your 4C coils, 3B ringlets, or somewhere in between, learning how to style natural hair at home gives you power, saves money, and boosts confidence. With a little patience, the right products, and some easy techniques, you can transform your curls into art—right from your bathroom mirror.
This guide covers 7 beginner-friendly tutorials for natural hair styling, using tools you likely already have. Ready to slay? Let’s dive in.
What You Need Before You Style
Before jumping into styling, it’s key to make sure your hair and your workspace are ready. A little prep goes a long way.
Essential Tools for Natural Hair Styling
Here’s what to keep in your toolkit:
| Tool | Why You Need It |
|---|---|
| Wide-tooth comb | Gently detangles without breakage |
| Spray bottle with water | Keeps hair hydrated during styling |
| Edge brush or toothbrush | Helps lay down those baby hairs |
| Sectioning clips | Keeps hair organized while you work |
| Blow dryer with diffuser | Optional, for faster drying |
Must-Have Products to Prep and Protect
Don’t forget the product lineup:
- Leave-in conditioner—for hydration
- Curl cream or gel—for hold and definition
- Hair oil or butter—for sealing moisture
- Heat protectant—if using any heat tools
Use what works best for your curl pattern and porosity. If you’re unsure, opt for lightweight, natural-based ingredients like aloe vera, shea butter, or jojoba oil.
Tutorial 1: The Classic Wash-and-Go
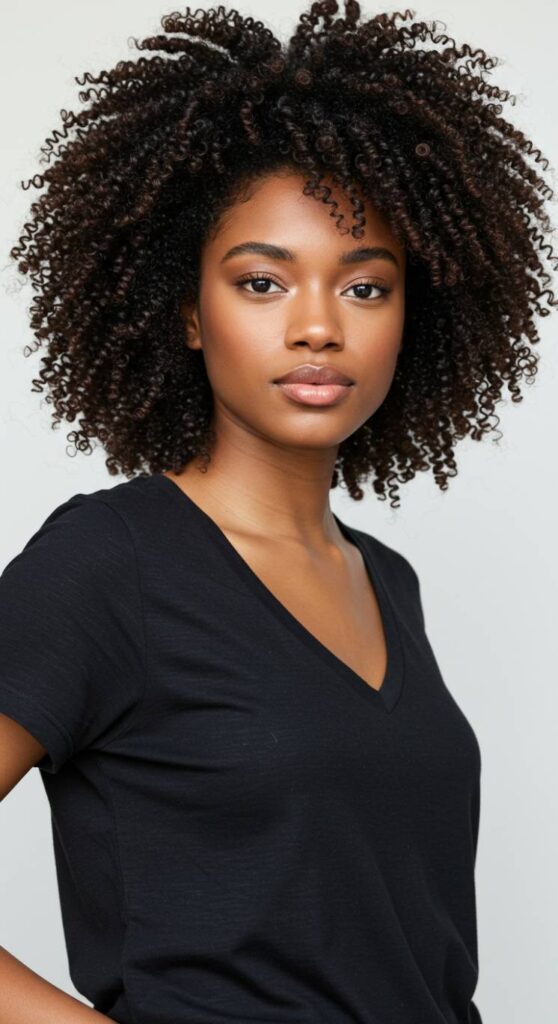
This style is a go-to for many naturals—it’s quick, cute, and lets your curls pop.
Steps:
- Start with clean, conditioned hair.
- Section your hair into 4-6 parts.
- Apply leave-in conditioner and curl-defining cream or gel section by section.
- Use the rake and shake method or the praying hands technique to define curls.
- Air dry or diffuse.
Pro Tips:
- Use a microfiber towel or T-shirt to scrunch out water—no frizz allowed.
- Try a light oil once dry to add shine and break up the gel cast.
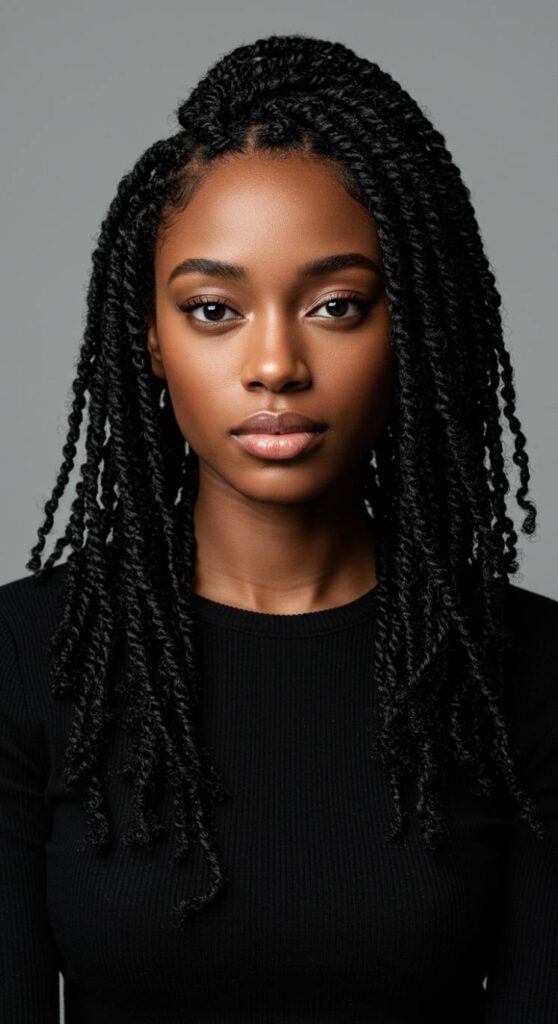
Tutorial 2: Twist-Outs for Defined Curls
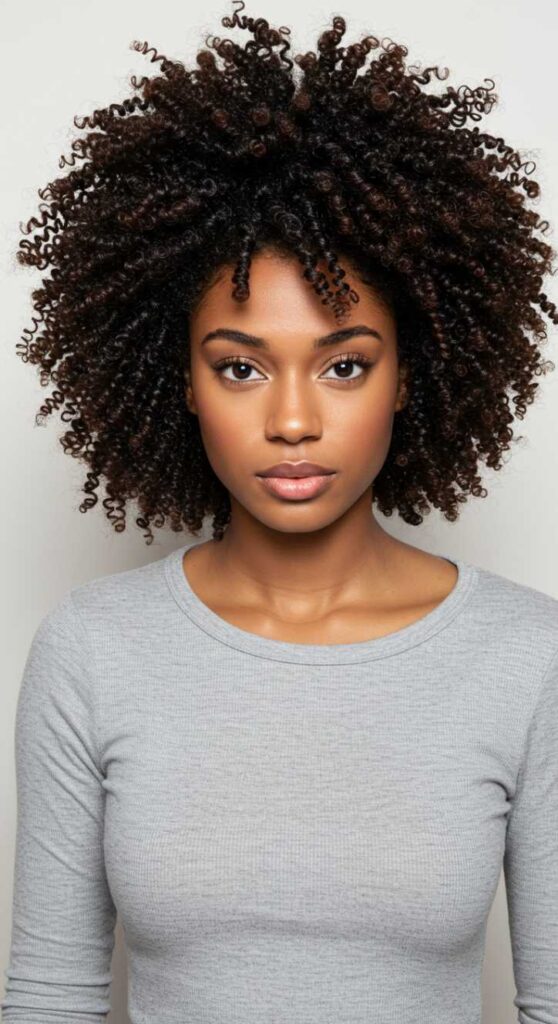
If you want stretched, defined curls without heat, twist-outs are your best friend.
Steps:
- Start with damp, detangled hair.
- Apply a twisting cream or butter.
- Part hair into sections and twist each piece tightly.
- Let dry overnight or under a hooded dryer.
- Untwist carefully, separating strands for volume.
Pro Tips:
- The smaller the twist, the tighter the curl.
- Avoid over-separating to reduce frizz.
Tutorial 3: Bantu Knots for Heatless Curls
Bold and beautiful, Bantu knots are both a style and a way to stretch hair.
Steps:
- Part hair into small sections.
- Apply a leave-in and curl cream.
- Twist each section, then wrap it into a tight knot.
- Secure with bobby pins or elastics.
- Leave overnight or until fully dry.
- Unravel carefully and fluff.
Pro Tips:
- Do this on damp—not wet—hair to reduce drying time.
- Bantu knots can also be worn as a full protective look.
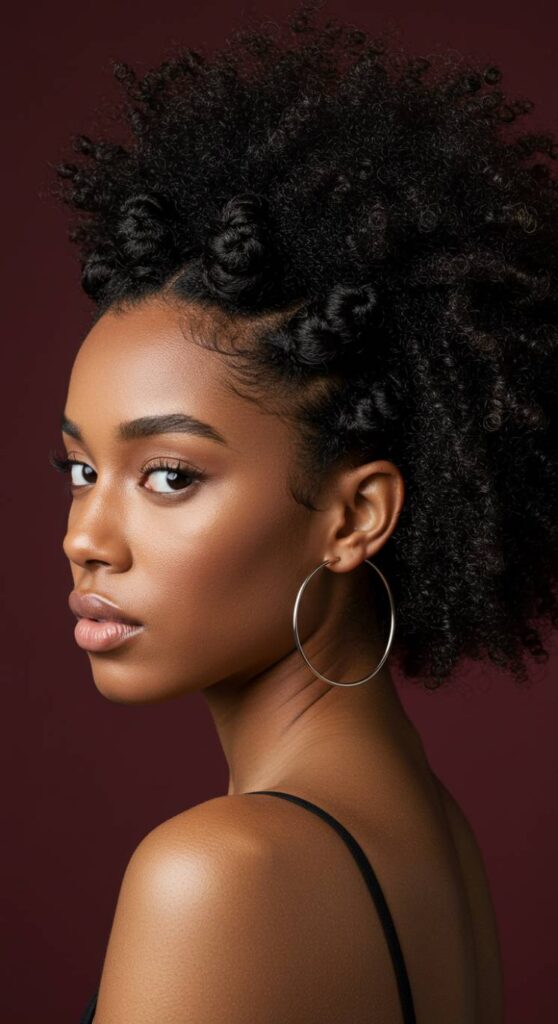
Tutorial 4: Sleek Puff for a Chic Look
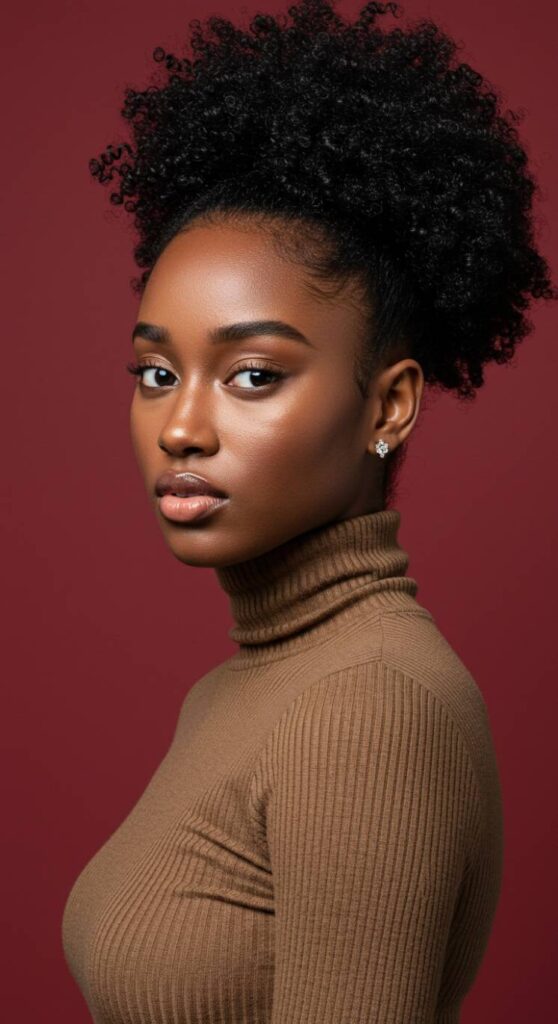
Got a few minutes? This look saves time and gives an edge.
Steps:
- Lightly spritz hair to soften.
- Apply gel to edges and brush hair upward.
- Gather hair with a puff cuff or stretched band.
- Smooth edges with edge control and a scarf.
Pro Tips:
- Use a toothbrush for edge perfection.
- Pineapple your puff at night to preserve shape.
Tutorial 5: Flat Twists for Protective Styling
Great for any occasion and protective for your strands.
Steps:
- Start on stretched or blow-dried hair.
- Part hair into clean rows.
- Apply twisting product and begin twisting close to the scalp.
- Finish the ends with two-strand twists.
- Set overnight or wear as-is.
Pro Tips:
- Add beads or cuffs for flair.
- Use shine spray to finish the look.
Tutorial 6: Flexi Rod Set for Bouncy Curls
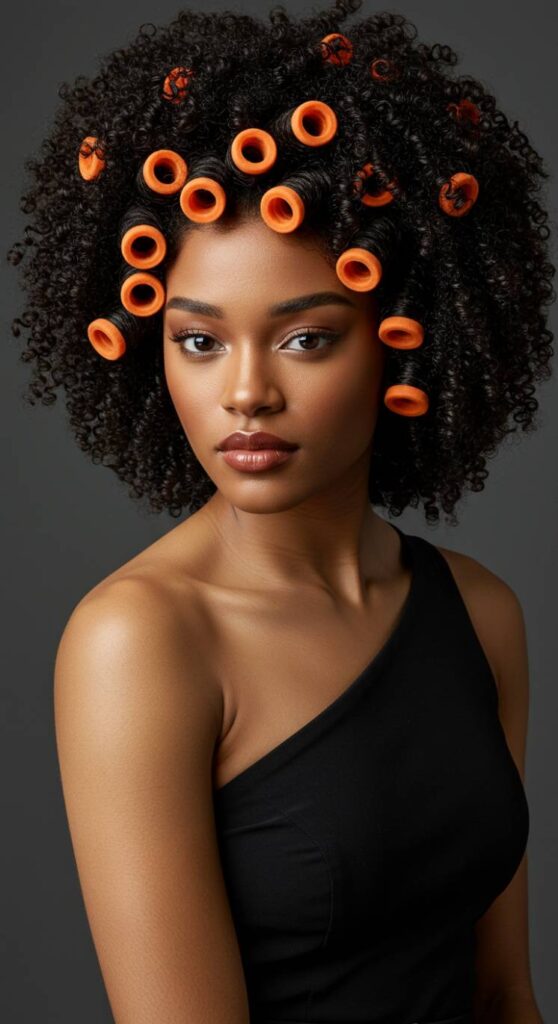
For salon-quality curls at home, flexi rods are the move.
Steps:
- Apply a styling mousse to damp hair.
- Section and wrap hair tightly around rods.
- Allow to air dry or use a hooded dryer.
- Remove rods gently and separate curls.
Pro Tips:
- The smaller the rod, the tighter the curl.
- Use oil on fingers when separating to avoid frizz.
Tutorial 7: Braided Crown for a Regal Vibe
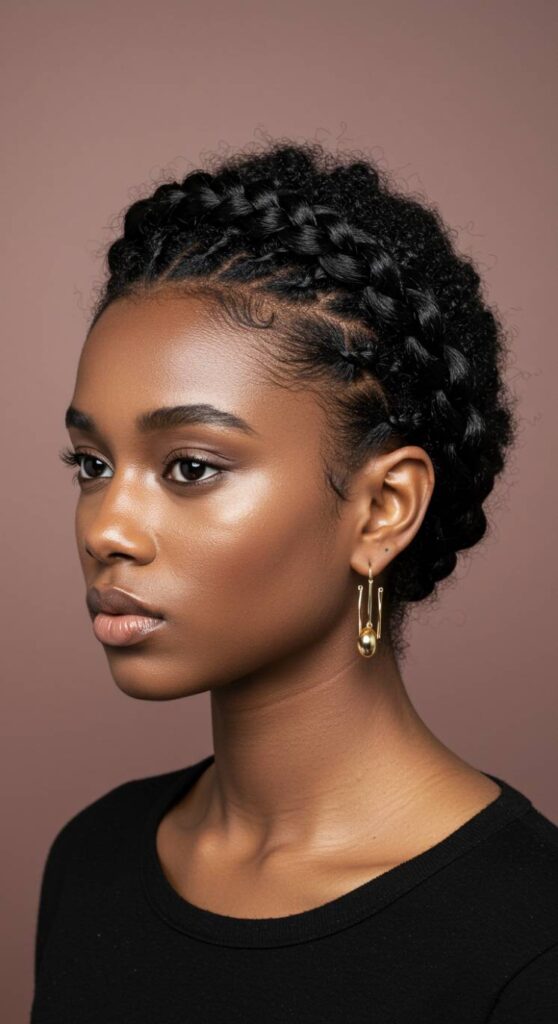
Turn heads with this goddess-inspired look.
Steps:
- Create a deep side part.
- Begin a Dutch braid along your hairline, wrapping around your head.
- Secure with bobby pins and tuck the ends.
Pro Tips:
- Add flowers or jewels for events.
- Works beautifully on stretched hair for easier braiding.
Hair Care Tips to Keep Styles Lasting Longer
| Tip | Why It Matters |
|---|---|
| Sleep in a satin bonnet | Reduces frizz and breakage |
| Refresh with water + leave-in spray | Brings curls back to life |
| Avoid over-manipulation | Protects hair’s health |
| Moisturize every few days | Prevents dryness and split ends |
Troubleshooting: Common Issues and Fixes
- Frizz results? Try using less product and make sure hair is fully dry before unraveling styles.
- Too much shrinkage? Stretch hair with banding before styling.
- Scalp feels dry? Use lightweight oils like jojoba or peppermint to nourish.
Conclusion: You’ve Got This, Queen!
Styling natural hair at home is a form of self-love and empowerment. With the right tutorials, tools, and a little bit of patience, you can create jaw-dropping looks on your own time, at your own pace.
Every twist, curl, and puff is a celebration of your natural beauty. Keep learning, keep experimenting, and don’t be afraid to make mistakes—it’s all part of the glow-up.
FAQs:
1. How often should I style my natural hair at home?
Every 1–2 weeks is a good rule of thumb. Overstyling can cause breakage, so give your hair rest days.
2. What’s the best style for short natural hair?
TWA (teeny weeny afro), sponge curls, or finger coils work beautifully for shorter lengths.
3. How can I make my styles last longer?
Wrap your hair in a satin scarf at night and refresh curls with a water/leave-in mix every few days.
4. Should I style it on wet or dry hair?
It depends. Wet hair gives better definition, while dry or damp hair helps with stretched styles.
5. Can I use regular gel on my natural hair?
Yes, but opt for alcohol-free gels to avoid flaking and dryness.
6. What’s the easiest beginner style?
Wash-and-go and high puff are perfect for starters. They’re quick, low-stress, and super cute